Showing posts with label spring. Show all posts

Wednesday, February 11, 2015

Easily, Cheaply Maximize Seed Space!

I'm beyond hooked on gardening, I want to plant everything everywhere, but to do that I need to start seeds. And on that front, space tends to be a lot more difficult to find than potting soil, containers, and lights. Here's an easy, cheap, fast way to get all the space you need out of one corner of one room!

Since it's easy to catch dirt and water in a tub, I dedicate the upstairs tub we never use to seed starting. But you can do it anywhere as long as you protect your floor from water. In order for the shelf to fit the tub, and for it to accommodate the 24" lights I have, I made the seed shelf 1.5 feet x 2 feet.

I also made it as tall as would fit because I want to grow as many plants as possible. Something like this can, of course, be made any height, but even at 6 feet it has a small enough footprint to fit easily almost anywhere.

So fast to make out of seven 2x2s. And yes, I take for granted that I have a circular saw and power drill, but if you don't you can borrow mine or I bet one of your friends' dads can let you borrow his.

1. Cut 2' off of four of the 2x2s, giving you four 6-foot pieces and four 2-foot pieces.
2. Cut each of two 2x2s into four 1.5-foot pieces and one 2-foot piece. Out of these two boards you will have eight 1.5-foot pieces and two 2-foot pieces.
3. From the remaining 2x2 cut two 2-foot pieces, leaving a 4-foot piece.
4. From that last 4-foot piece, cut two 1.5-foot pieces. You'll have one unused 1-foot piece left.  

And that's what you need, four 6-footers, eight 2-footers, and ten 1.5-footers. Hope that didn't just make sense to me.


Once your wood is cut, assemble two ladder-like panels from four 2-foot pieces between two 6-foot pieces. Allow a foot of space at the top and bottom, and 16 inches between  each of the 2-foot pieces. 


Then join the two panels with the 1.5-foot sections.


The last two 1.5-foot pieces go on top, and from there you can hang lights to use every shelf, plus the floor.

MDF is super easy to cut to shape, just draw a razor along where you want to cut it and snap to break. Each shelf gets a board, and there you go! Completed seed shelf.


So how much did it cost? More than it should have, since I bought oddly expensive peg board. Don't get that, I guess I had some silly reason for buying it but it's not necessary. The 2x2s were $13.71and  the peg board was $15.94, bringing my total to a meager $29.65!

But even with spending too much on board, thirty bucks and I've tripled my space! Be a smarter shopper than me since lights are still necessary (yes, the whole operation costs more than $30, but all you need are some cheap WalMart grow lights).


Happy planting!


Wednesday, March 5, 2014

How Time Flies

A month ago, I began but didn't finish a post, and would have titled it "In a frozen hell". A lot has happened since then. 


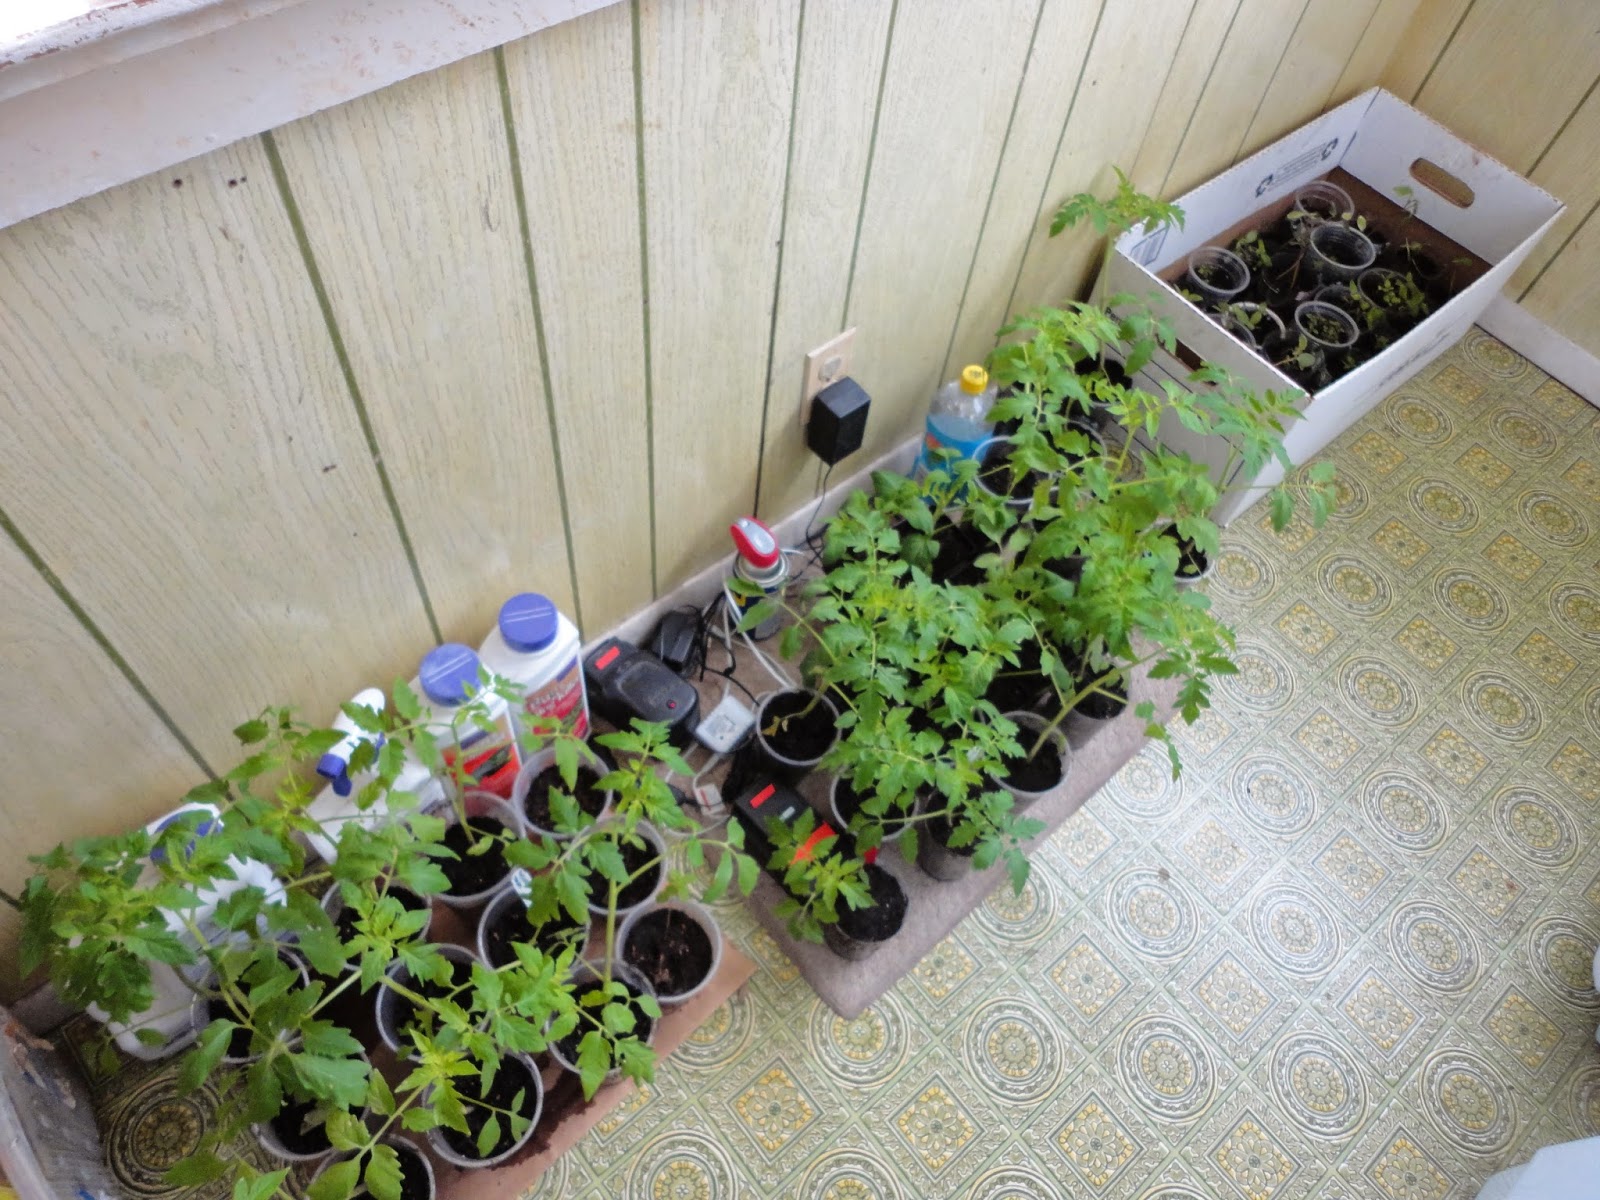
The first being that my seeds have sprouted and grown up into awesome little baby plants.


And when those little baby plants got their leaves, I put them into the larger pots I've been making from a collection of plastic drink cups. And when they got even bigger, I planted them outside!

So far I have planted, as seedlings:


- Early Jersey Wakefield cabbage
- Buttercrunch and Black-seeded Simpson lettuce
- Borage
- Bloomsdale longstanding spinach
- Red Russian kale
- Rainbow chard

as seed:

- Dill
- Cilantro
- 2 types of carrots, gotta check on those
- Hollow crown parsnips
- strawberry spinach
- peas
- more spinach

and as starts:

- Quinault strawberries
- Jersey Green Giant asparagus
- Mt. Hood, Sterling, and Willamette hops

Not to mention the raspberries, whose leaves are unfurling, the garlic that I started last fall and is well on its way, the mint, sage, rosemary, thyme, and chives which are starting to sprout back, the rye which survived the winter, and the couple of radicchio roots I came across when I was digging spots for strawberries.

Oh, and tomatoes:


Courtesy of Rutgers Gardens, and there's another sale coming up in 2 weekends. Plus all the other seeds that are still in my bathtub.

 What I've Learned (most important part)

1. Start EARLY. With new, cold-weather spring crops, you can start at the end of January. I began my first round of seeds indoors at the end of February, which gave me enough time, but a lot of my seedlings weren't as large or vigorous as I would have liked, or as an extra month would have allowed, when planted outside. The problem here is that to do this, space is necessary, so I need to...

2. Work on space provisions, lighting, and fertilization of seedlings. I'll tell you what I come up with.

3. 2 FULL WEEKS to harden off. Lest your plants get sunburned, which mine did. When they go into the outdoors, for the first day leave them in the shade, then the next day in sun for an hour only. Every day, for 2 weeks, add an hour a day, until you can eventually leave them outside overnight, and in the sun without them crisping up.


Sunday, February 23, 2014

It's Begun!


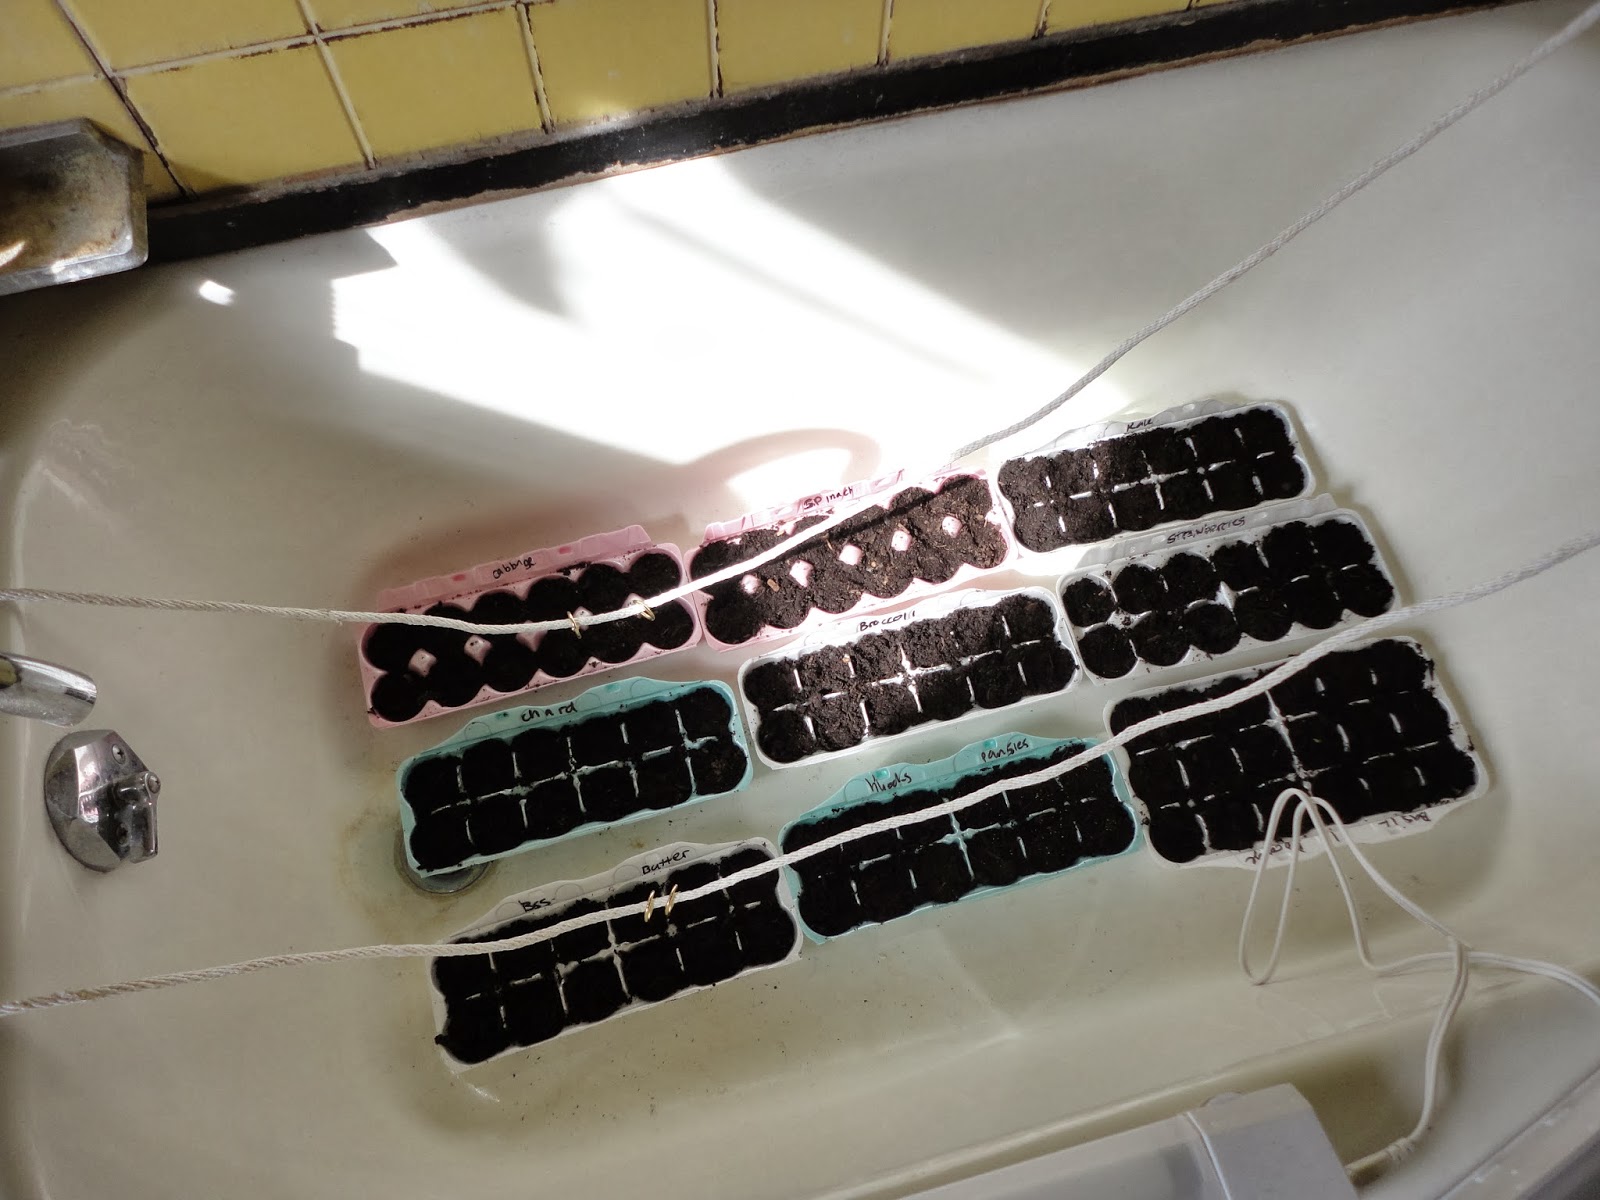
My little seeds are planted, watered, and on their way to being beautiful big plants. It may still snow, and there's still snow on the ground, but the weather is turning towards spring and it's exciting to feel that in the air. 


In the future, something more sturdy than lights hung from a cord across a bathtub would be cool. But for now it will get the job done.

Today I started: Calabrese broccoli, rainbow Swiss chard, Siberian kale, Bloomsdale long-standing spinach, Early Jersey Wakefield cabbage, borage, hollyhocks, Bowle's black pansy, butter and black-seeded Simpson lettuces, Yellow Wonder wild strawberries, and some kind of basil I grew last year.

When I finish more eggs, I'll also start marigolds and Osaka purple mustard.