Showing posts with label Third Acre Gardens. Show all posts

Wednesday, February 11, 2015

Easily, Cheaply Maximize Seed Space!

I'm beyond hooked on gardening, I want to plant everything everywhere, but to do that I need to start seeds. And on that front, space tends to be a lot more difficult to find than potting soil, containers, and lights. Here's an easy, cheap, fast way to get all the space you need out of one corner of one room!

Since it's easy to catch dirt and water in a tub, I dedicate the upstairs tub we never use to seed starting. But you can do it anywhere as long as you protect your floor from water. In order for the shelf to fit the tub, and for it to accommodate the 24" lights I have, I made the seed shelf 1.5 feet x 2 feet.

I also made it as tall as would fit because I want to grow as many plants as possible. Something like this can, of course, be made any height, but even at 6 feet it has a small enough footprint to fit easily almost anywhere.

So fast to make out of seven 2x2s. And yes, I take for granted that I have a circular saw and power drill, but if you don't you can borrow mine or I bet one of your friends' dads can let you borrow his.

1. Cut 2' off of four of the 2x2s, giving you four 6-foot pieces and four 2-foot pieces.
2. Cut each of two 2x2s into four 1.5-foot pieces and one 2-foot piece. Out of these two boards you will have eight 1.5-foot pieces and two 2-foot pieces.
3. From the remaining 2x2 cut two 2-foot pieces, leaving a 4-foot piece.
4. From that last 4-foot piece, cut two 1.5-foot pieces. You'll have one unused 1-foot piece left.  

And that's what you need, four 6-footers, eight 2-footers, and ten 1.5-footers. Hope that didn't just make sense to me.


Once your wood is cut, assemble two ladder-like panels from four 2-foot pieces between two 6-foot pieces. Allow a foot of space at the top and bottom, and 16 inches between  each of the 2-foot pieces. 


Then join the two panels with the 1.5-foot sections.


The last two 1.5-foot pieces go on top, and from there you can hang lights to use every shelf, plus the floor.

MDF is super easy to cut to shape, just draw a razor along where you want to cut it and snap to break. Each shelf gets a board, and there you go! Completed seed shelf.


So how much did it cost? More than it should have, since I bought oddly expensive peg board. Don't get that, I guess I had some silly reason for buying it but it's not necessary. The 2x2s were $13.71and  the peg board was $15.94, bringing my total to a meager $29.65!

But even with spending too much on board, thirty bucks and I've tripled my space! Be a smarter shopper than me since lights are still necessary (yes, the whole operation costs more than $30, but all you need are some cheap WalMart grow lights).


Happy planting!


Tuesday, November 4, 2014

No-Till Gardening!

No-till gardening is so exciting to me because I've seen how effectively it works and because it's something that can absolutely change the face of food production for the better. Particularly for anyone who's been intimidated out of gardening (since maybe you don't have a tiller or don't know where to rent one or you don't have pickaxes and shovels, or you want to garden so small a space that it doesn't warrant renting a tiller), TRY THIS.

I had read about nature farming methods, about Ruth Stout, about reducing the tillage I do in my garden before plowing this year. Then I plowed anyway since it was the way I knew to 'start' the garden every spring. It's easy enough with the roto-tiller we inherited from our grandparents. What really twisted my arm in getting me to adopt some of these techniques was the shoulder surgery I had a bit later, limiting me to the use of solely my left hand. Since I couldn't shovel, rake, start a roto-tiller, barely maneuver a trowel with my bad hand, I had to find an easier way to plant.

So I cut loose a bale of hay, pulled it apart into thick layers and spread them on the ground in a row, and covered the top with some compost. I sprinkled on Belgian endive seeds and watered them in. That was it and it worked. Sooner than I thought the hay began to decompose, worms were working their way up into it, and it maintained consistent moisture.


Such an unassuming pile of hay is all it takes. Since it's softer than dirt weeds come out easily, as do your crops. I was able to gently lift out the grown endives by their roots.

It's just so EASY: 
since you can do it with one hand! No wrestling with a tiller or pickax. Rain moistens the soil and the worms till it under a comfy cushion of hay. You grab a trowel and stick your transplants where you want, or simply pull back the top dry layer of hay and sprinkle on your seeds.

It's just to FAST:
since you certainly won't need to water, weed, or fertilize as often (if...ever?!)! Mulch is incredibly important in all gardens since it suppresses weed growth and  maintains moisture. If there's no system in place to suppress weeds and maintain moisture, YOU get to be the system! You'll be breaking your back weeding and trucking around a hose twice a day everyday in the peak heat of summer. Instead of caving to Home Depot's pressure to futilely spray herbicides (which is simply fucking bad for everything) or to install an expensive irrigation system, just do it the way nature does it. If you check down about two inches into the mulch around the base of your plants and it's moist, your root zone is good to go! If the mulch is thick enough you're blessed with a constantly active layer of decomposing organic matter which rebuilds and fertilizes your soil. So you can focus on things other than the most inane garden tasks.

And it's just to CHEAP: 
since I told you all these things you don't need to buy! No tiller, no repairs to the tiller, no gas, no herbicides, no drip hoses, less water. 

This is the first year I've employed faithfully no-till methods, so I'm hardly an authority, but I truly anticipate greater fertility and moisture retention as the beds area allowed to regenerate and be reused (and rotated!) year after year.

HOW IT'S DONE IN 1, 2, 3!

1. Thickly cover the area in which you wish to plant with hay, leaves, grass, paper bags, or another cheaply-acquired biodegradable substance that can fully cover weeds and grass while letting water and air through.
 
2. Let it sit and break down, for at least a month where you can spare it. Over time the bottommost layer of mulch will become dark, moldy, slimy, and full of little circular black worm turds. ALL GOOD THINGS. Once the grass underneath dies and you notice some worm and bug holes extending directly into the dirt, you are probably ready to plant. 


3. Dig into the supple dirt and plant those transplants, or sprinkle seeds right into this moist mulchy germination matrix!

I'm trying to build up some new areas from my own cornstalks and squash vines, hay, and Starbucks' spent pounds of coffee grounds, layered on top of each other as I get them. These spots are for potatoes, which I can already feel being so easily loosed from their beds rather than arduously dug from the soil.


The more time you can give the mulch or bed-building materials to decompose, the better. You'll be left with more of a more dirt-like substance to plant into. Now is the perfect time to get something started for next year! Though decomposition generally slows in the winter, you're still getting a head start on all that great microbial action.


Here's one we can try together. Corral fallen leaves, keep them in place with whatever you can find (some welded wire and metal sheeting, in my case, sticks work, too), and let them hang out. I plan to keep collecting leaves to fill out this space, while shifting the stabilizers from older and mildly decomposed spots onto spots with new leaves. 


Happy mulching!


Tuesday, August 19, 2014

Squash Butter and Maple Toffee Naan

Sometimes you get this grand plan for dinner, the type of dinner that warrants a lovely dessert to follow. But you get so caught up in making the dinner that dessert becomes irrelevant until you're done making the dinner and you're left thinking, "Shit. Now what?" We were lucky to come up with this one from extra bread dough and stuff in the freezer. I recommend many pumpkin pies in the fall, but save some purée for something like this.


Squash Butter and Maple Toffee Naan
The first step is to make the naan dough. I had great results with Food Network's recipe. As with any yeast bread, mix the dough an hour or a few ahead of time to allow it to rise. Skip the fennel and other seeds since you want a plain bread dough for this. And if you happen to not have yogurt, as I didn't, don't fret. I substituted around 5 T of heavy cream for the yogurt portion, but I get the feeling water or milk will work equally well.

Also, I used a whole packet of yeast and only let it rise once since I'm not keeping around a partially-used packet and I can never time bread right.

Squash Butter
~2 C puréed squash***
~3 T honey
1 broken cinnamon stick
0.5 tsp ground allspice
0.5 tsp ground black pepper
0.5 tsp nutmeg

Combine in a saucepan and allow to reduce over the lowest heat, stirring consistently, until the mixture thickens and you can smell the spices. Then turn the heat off. Nice and easy.

***If you've never prepared your own squash purée before, DO IT. It's truly flavorful, fresh and bright, MANY times better than the canned stuff. Pick a day when you don't have that much to do so it doesn't suck washing the food processor and cutting into these hulking fruits. Round up some Butternuts, Long Island Cheese Pumpkins, Blue Hubbards, or other roasting squash, cut (or saw, if necessary) them into chunks, and roast at 350 F until the flesh separates from the skin easily with a fork. Purée the flesh in the food processor until smooth, then fill into Ziploc bags and freeze until you're ready to use it!

And for cooking, never use those orange jack-o-lantern pumpkins which are Connecticut Field Pumpkins. The flesh is stringy and super bland, they're only for decoration.

Putting It Together
1. Put your oven up to 450 F.
2. Grease a cookie sheet
3. Grab a big handful of dough, stretch out into a long strip, and spread on a liberal amount of squash butter.  
4. Twist the buttered strip over itself, so it encases the filling. Don't stress over this, think 'rustic' and just go with it.
5. Repeat until you use up the dough and squash butter. Save the saucepan for the toffee!
6. Bake for about a half hour, until the bread is toasty and golden brown.

Maple Toffee
In the same saucepan you cooked the squash butter in, combine:
~3 T butter
~3 T sugar
~3 T maple syrup
and cook over low heat until it combines, bubbles, and looks all lovely.

And when the naan is done, drizzle the toffee on top and have a nice time eating it.


Friday, August 8, 2014

Quick Tomato Barbeque Sauce

It's exciting to find new ways to use ingredients, particularly those parts which would otherwise go straight in the compost. So when I knew I wanted to make a tomato pie, and that I'd have to remove the watery parts, I wanted to come up with a way to use those watery parts. This reduction sauce made a lot of sense since I already had a pan out from making the pie filling. Just poured the juice back in, turned up the heat and I was ready to go!

Quick Tomato Barbeque Sauce

1-2 C Tomato juice
~1 T honey
~2 T apple cider vinegar
3-4 crushed hot peppers
salt

Very simply combine all ingredients in a pan and put the heat on high. Let it boil and reduce until the sauce is caramelly and thick. At that point taste it, adjust the flavor if you'd like, and if you end up adding more liquid let it reduce back down again. Once it's the texture of barbeque sauce, take it off the heat and store it in the fridge.

Here it is on a really good burger I made the other day.


 Tangy, sweet, and spicy, as good as any other barbeque sauce, and one more thing you can make yourself instead of buying it in a bottle!

Friday, July 4, 2014

Independence Days

Today is the 4th of July, and I dug up my garlic. 15 bulbs, which will last quite a time, even though I believe more garlic is more better.


There's a number of reasons why I garden and why I like gardening, but the reason that feels most pertinent today is independence. Supermarkets stress me out, a lot. Everyone's there, and in the way, and dumb, won't move, has kids, buys too much shit, and now my supermarket excursions focused on the toilet paper aisle; express trips in and out. I'm free of not knowing what's in my food, not knowing how it was grown, where it's really from, and being forced to pay as much as the food industry requires. I'm free to be joyful about and connected to my sustenance. To be close to Nature and working with Her to derive what I need to survive is real fucking exciting.


I am very lucky to have enough space to grow just about everything I need. But you don't even need yardspace to find this freedom. Just grow something you can use, in a pot in the window or out in the yard and you're getting out of the same old food systems that are commonplace today. And, visit a farmers' market or stop by a stand to pick something up. Whole lot less stressful than ShopRite on weekends.


Monday, June 16, 2014

Growing Strong

Plants are growing, growing, growing. Better to show you:


The patch where I keep finding a friend frog.
 Easiest planting ever (if it ends up working, that is). I set down some hay, allowed it to begin rotting then covered it with compost, sprinkled on the seed, and then a little hay to hold it in place. That's it! Trying this on Belgian endive, since at a point the roots need to be dug and it will be much easier to dislodge them from this than from the ground. My potatoes are planted similarly, and they, too, seem to be doing fine. 

 I'm planting close, a lot closer than many sources recommend. And I'm going with it, since it seems to be working just fine. Any volunteers that come up, I let them do their thing. Above, in a hugelkultur bed, I've planted kale, cabbages, broccoli, cucumbers, marigolds, chard, borage, plus volunteer sunflowers, mustard, and cilantro. I have, generally, four to six inches between plants, and in some other spots more and in other spots less.

 Butternuts, Long Island cheese pumpkins, and beans, alternating spots with an array of zinnias and sunflowers.
 And I'm trying out a Three Sisters planting with my squashes, corn, and beans. I planted my squash and melon seedlings directly into some compost and mulched heavily. They are flourishing, and everyone else seems to be healthfully on its way.
Rather than break my back, I'm incorporating techniques that reduce the amount of energy I need to put into the gardens. And so far, the most difficult part has proven to be installing and repairing fences.

And every day I can harvest chard, lettuce, mustard, kale, peas, and all kinds of herbs. Raspberries are ripening, tomatoes are setting, corn is rising, beans are flowering, and there's more to come.

So how much does this all cost me? $333.59 this year to date. About $80 was on seeds, and the rest on supplies. Less than I had guessed. And out of that I get a new 1,200 square foot plot I can use year in and out, plus more plants whose seeds I can save for subsequent years!

Definitely worth no longer frequenting ShopRite.

Sunday, February 23, 2014

It's Begun!


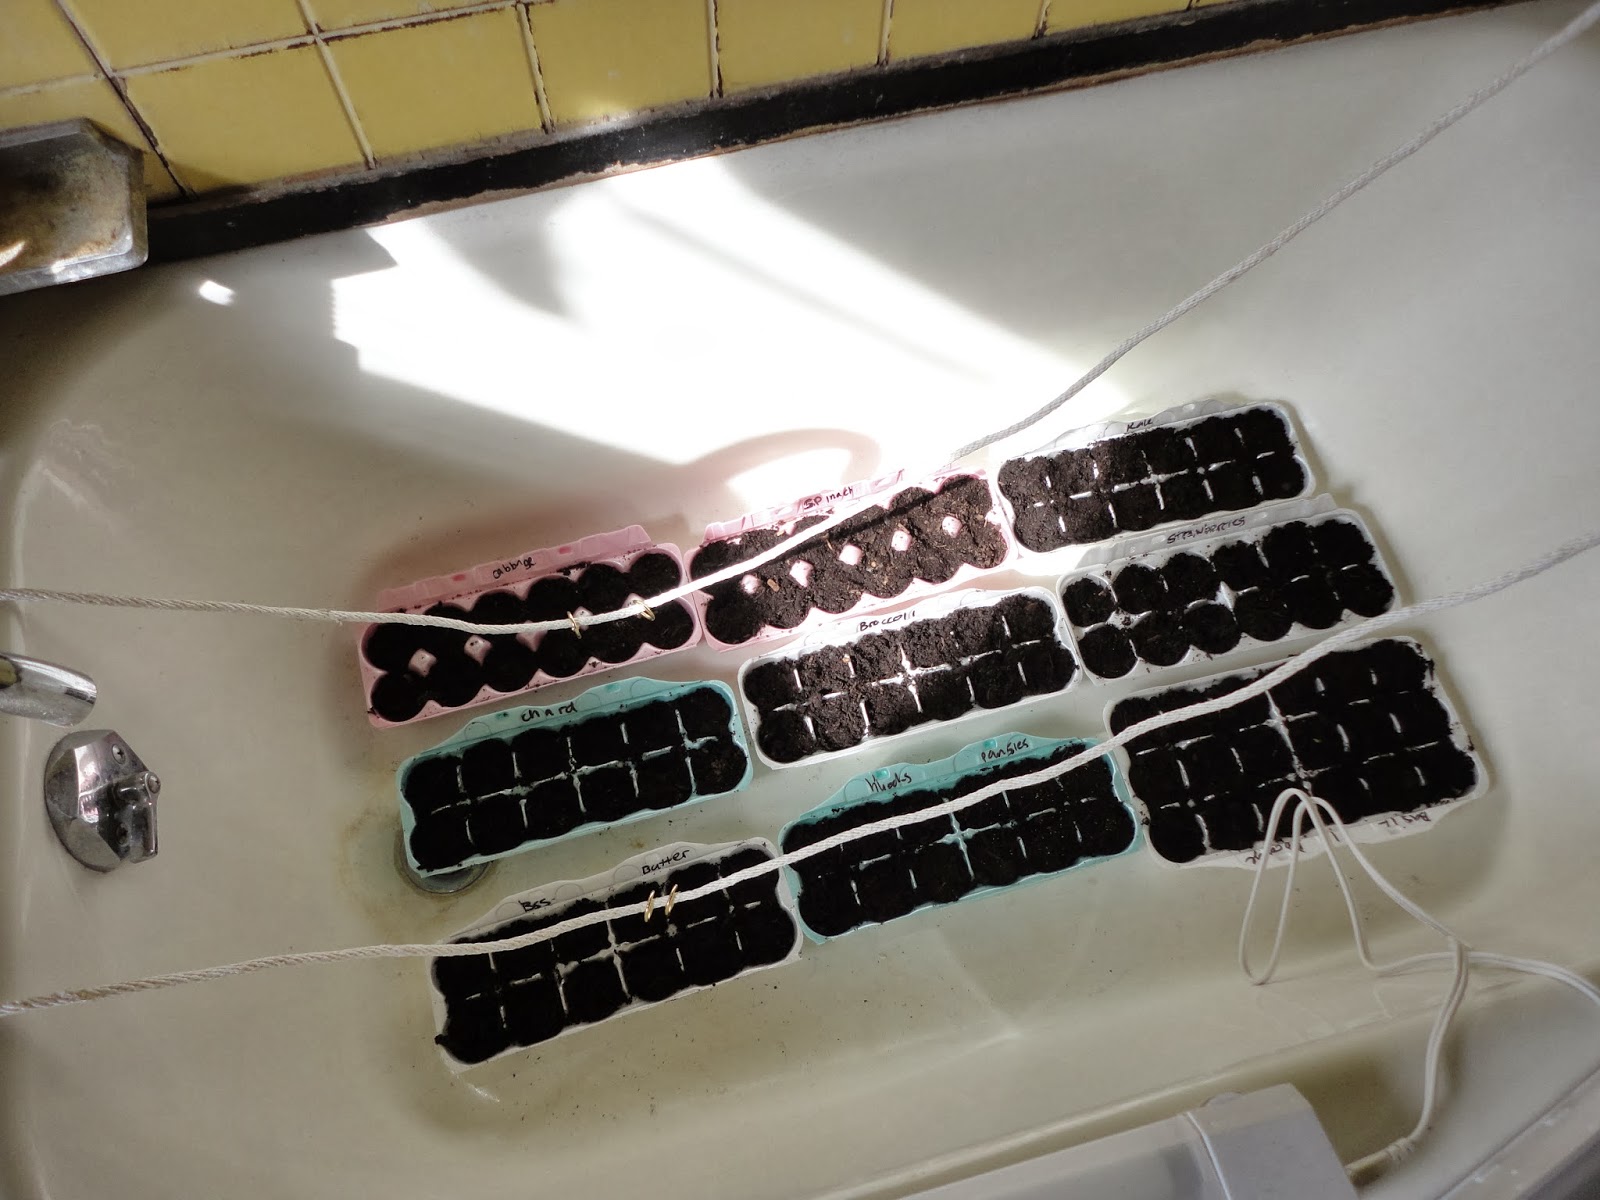
My little seeds are planted, watered, and on their way to being beautiful big plants. It may still snow, and there's still snow on the ground, but the weather is turning towards spring and it's exciting to feel that in the air. 


In the future, something more sturdy than lights hung from a cord across a bathtub would be cool. But for now it will get the job done.

Today I started: Calabrese broccoli, rainbow Swiss chard, Siberian kale, Bloomsdale long-standing spinach, Early Jersey Wakefield cabbage, borage, hollyhocks, Bowle's black pansy, butter and black-seeded Simpson lettuces, Yellow Wonder wild strawberries, and some kind of basil I grew last year.

When I finish more eggs, I'll also start marigolds and Osaka purple mustard.

Thursday, February 20, 2014

WalMart Wins Again

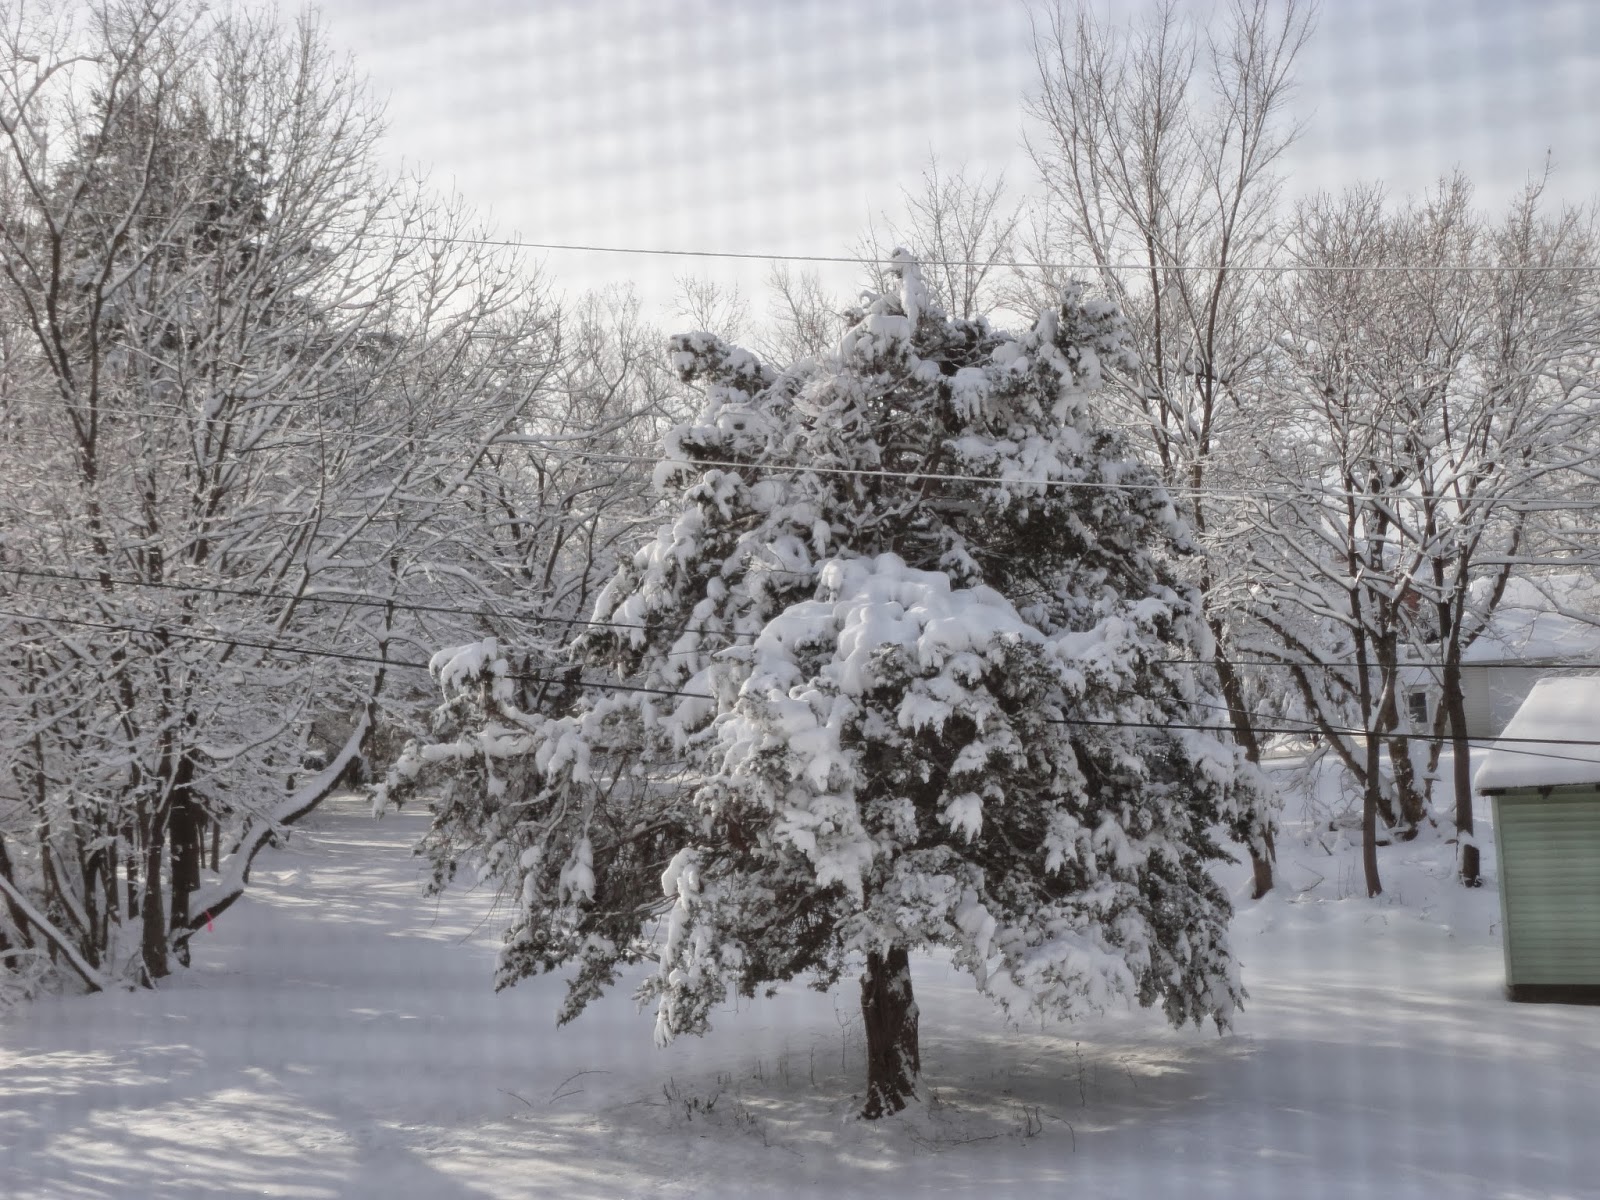
Even though it looks like this outside...


...I got my seeds in, and I am SO EXCITED. I know that some gardeners out there have already started their seedlings, but I'm planning on this coming weekend to begin.


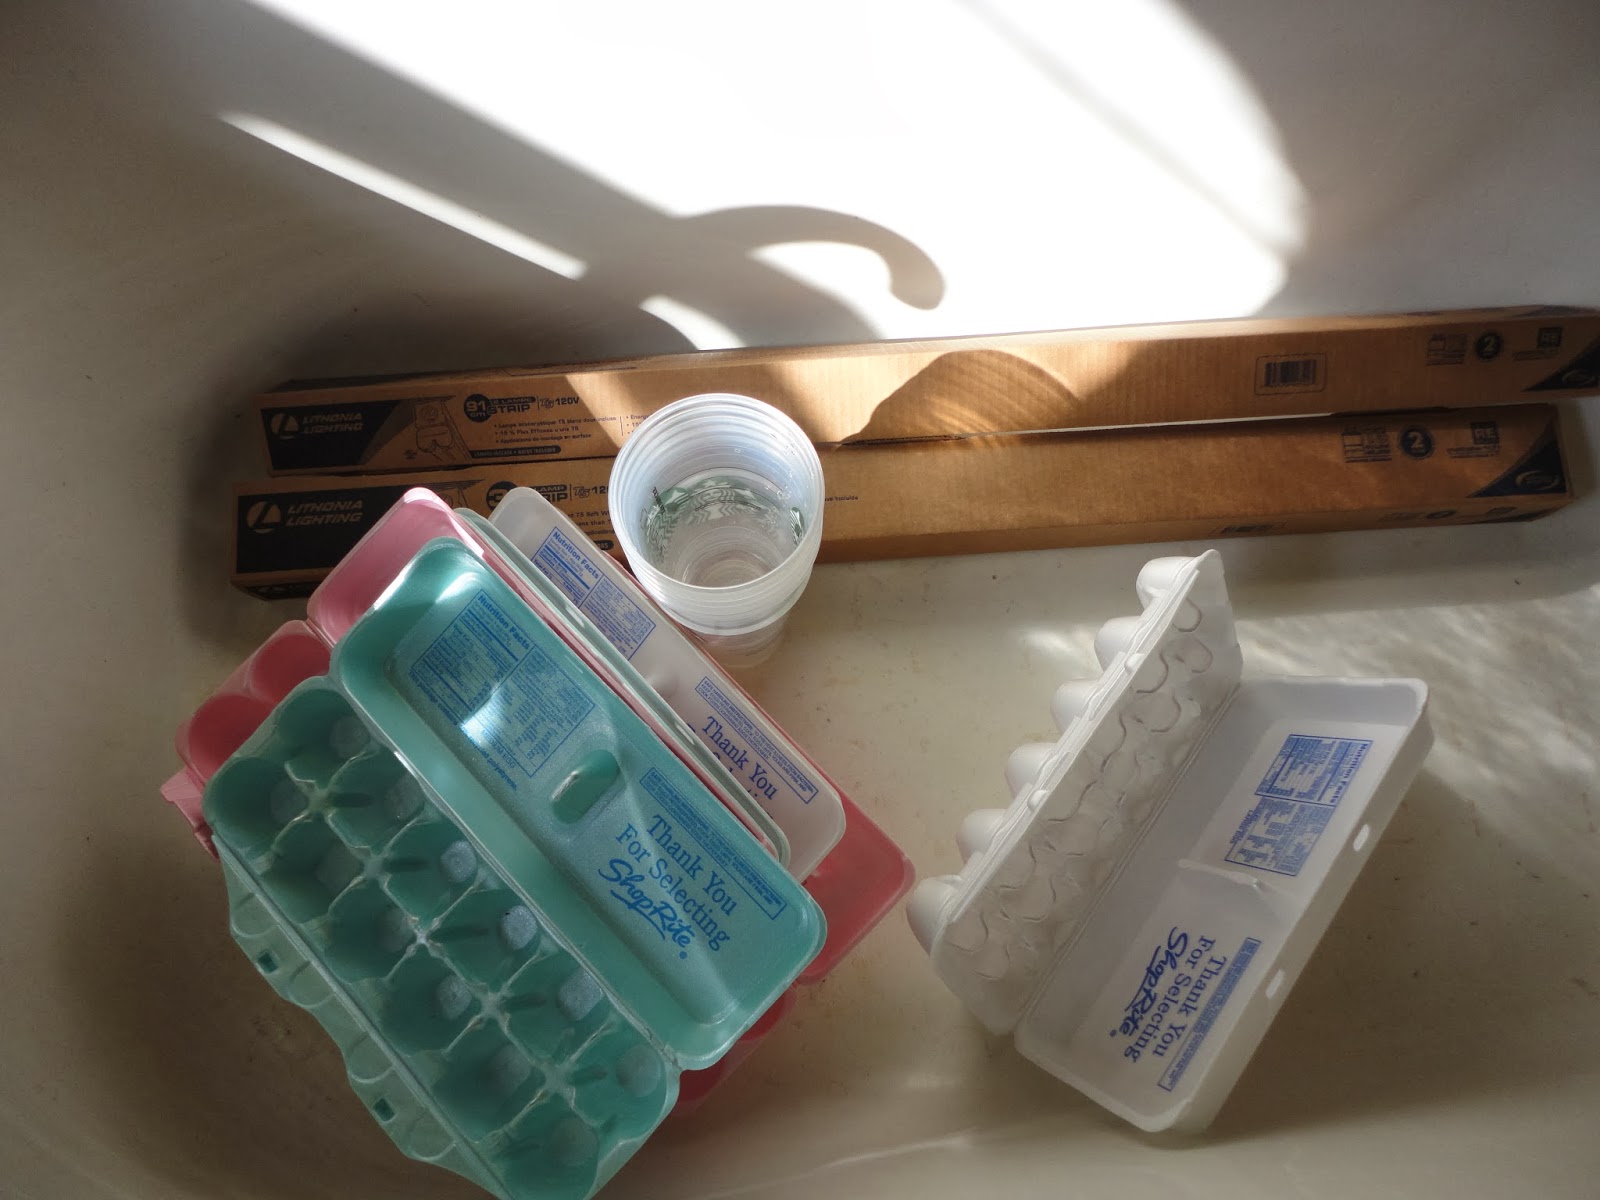
That is, if I can manage to rig my new grow lights properly. And here it will begin, in egg cartons in my tub in the warmest room of my house just below the glow of some new flourescents.


I'm tempted to buy more seeds, and I may just get a few more that I've been thinking about. Really I have enough, but seeds have become a bad shopping addiction. I any case, I'm happy with what I have. And how much I've spent. So far on seeds $58.84, and on the lights $63.88. Altogether $122.72.

Hold up. When I opened the fluorescent strip lights, I quickly learned there were no plugs. Trying to not let this faze me I turned to YouTube, checked out how to attach plugs, and then turned to WalMart to find the plugs to attach. But as I was looking, I came across these guys:


And each was $11. Cord and plug pre-attached and everything. The other ones are going back to Home Depot, I can definitely get to planting this weekend, and I'm looking at more like $80 so far for the season. Which isn't bad considering you could spend that much in one trip to Whole Foods whereas this is a season's whole growth and some nice reusable equipment.

Thursday, January 9, 2014

Like a kid in a candy store.

Gardener in a seed store is more like it. I'm addicted. As I scroll through online inventories and flip back and forth through catalogs, I just want it all. I want to plant all the seeds. There are so many beautiful plants and so many I have never seen before. 


I already have unopened seed packets from last year, as well as open seed packets with seeds still in them from last year, because I bought too many as it was, on top of the seeds I saved. There was just no space left to keep planting. 

The lack of space won't be an issue this year, since I do plan on adding another garden plot, at least a few hundred square feet. And I'm very happy about the seed I did save: Sweet Bantam corn, Waltham butternuts, Long Island cheese pumpkins, dill, cilantro, 3 kinds of basil (purple, globe, and some other one), various beans, and Purple Osaka mustard (which was already a volunteer from when I planted it 2 years prior). Ideally, in a year or two, I won't even need the catalogs anymore, and I'll have all the seed I need from what I've grown before.

I'm leaving Burpee behind this year. Almost everything I had previously was from them, on those big rotating seed displays that pop up in Home Depot and WalMart. They do carry hybrids and some GMOs, but also heirlooms and organics, though I don't want to buy from them anymore due to the money. I don't drink Budweiser or Miller not just 'cause it tastes like shit, but also because those companies monopolize the beer market and make it difficult for smaller companies to survive. I can imagine it's similar with Burpee vs. smaller seed suppliers, and even so, Burpee is a lot more expensive than the smaller companies I'm finding.

One supplier I plan to use is the Kitazawa Seed Company. Recommended by my professor Marc Handelman, they specialize in Asian specialty plants, and Asian varieties of the same plants I'm accustomed to seeing in the US. I'm picking up Chinese bellflower, mulukhiyya, Burgundy okra, maybe an eggplant and radish variety or two, and ngo gai.

I'm also looking at Baker Creek Heirloom Seeds. Check out their winter squash selection, holy shit! I love squash, want to grow a lot, and they seem to have it all. When it comes to squash, I want to focus on growing North American landraces, and they have a spectacular variety of native types. They carry some other very cool natives, and I'm looking to step up the number of native plants I have around.

 My Patriot Supply carries only non GMO varieties, and they're having a sale (!!!) right now, on top of already great prices. And then Renee's Garden has some fantastic prices on potato and onion starts, and they carry all organics.

For now I'm back to browsing, and making my credit card cry just a little bit. I will tell you how much I spend on seeds and supplies, and over time compare that to how much I would be spending on everything, "organically", in stores. It's great to come out on top.