Tuesday, November 4, 2014

No-Till Gardening!

No-till gardening is so exciting to me because I've seen how effectively it works and because it's something that can absolutely change the face of food production for the better. Particularly for anyone who's been intimidated out of gardening (since maybe you don't have a tiller or don't know where to rent one or you don't have pickaxes and shovels, or you want to garden so small a space that it doesn't warrant renting a tiller), TRY THIS.

I had read about nature farming methods, about Ruth Stout, about reducing the tillage I do in my garden before plowing this year. Then I plowed anyway since it was the way I knew to 'start' the garden every spring. It's easy enough with the roto-tiller we inherited from our grandparents. What really twisted my arm in getting me to adopt some of these techniques was the shoulder surgery I had a bit later, limiting me to the use of solely my left hand. Since I couldn't shovel, rake, start a roto-tiller, barely maneuver a trowel with my bad hand, I had to find an easier way to plant.

So I cut loose a bale of hay, pulled it apart into thick layers and spread them on the ground in a row, and covered the top with some compost. I sprinkled on Belgian endive seeds and watered them in. That was it and it worked. Sooner than I thought the hay began to decompose, worms were working their way up into it, and it maintained consistent moisture.


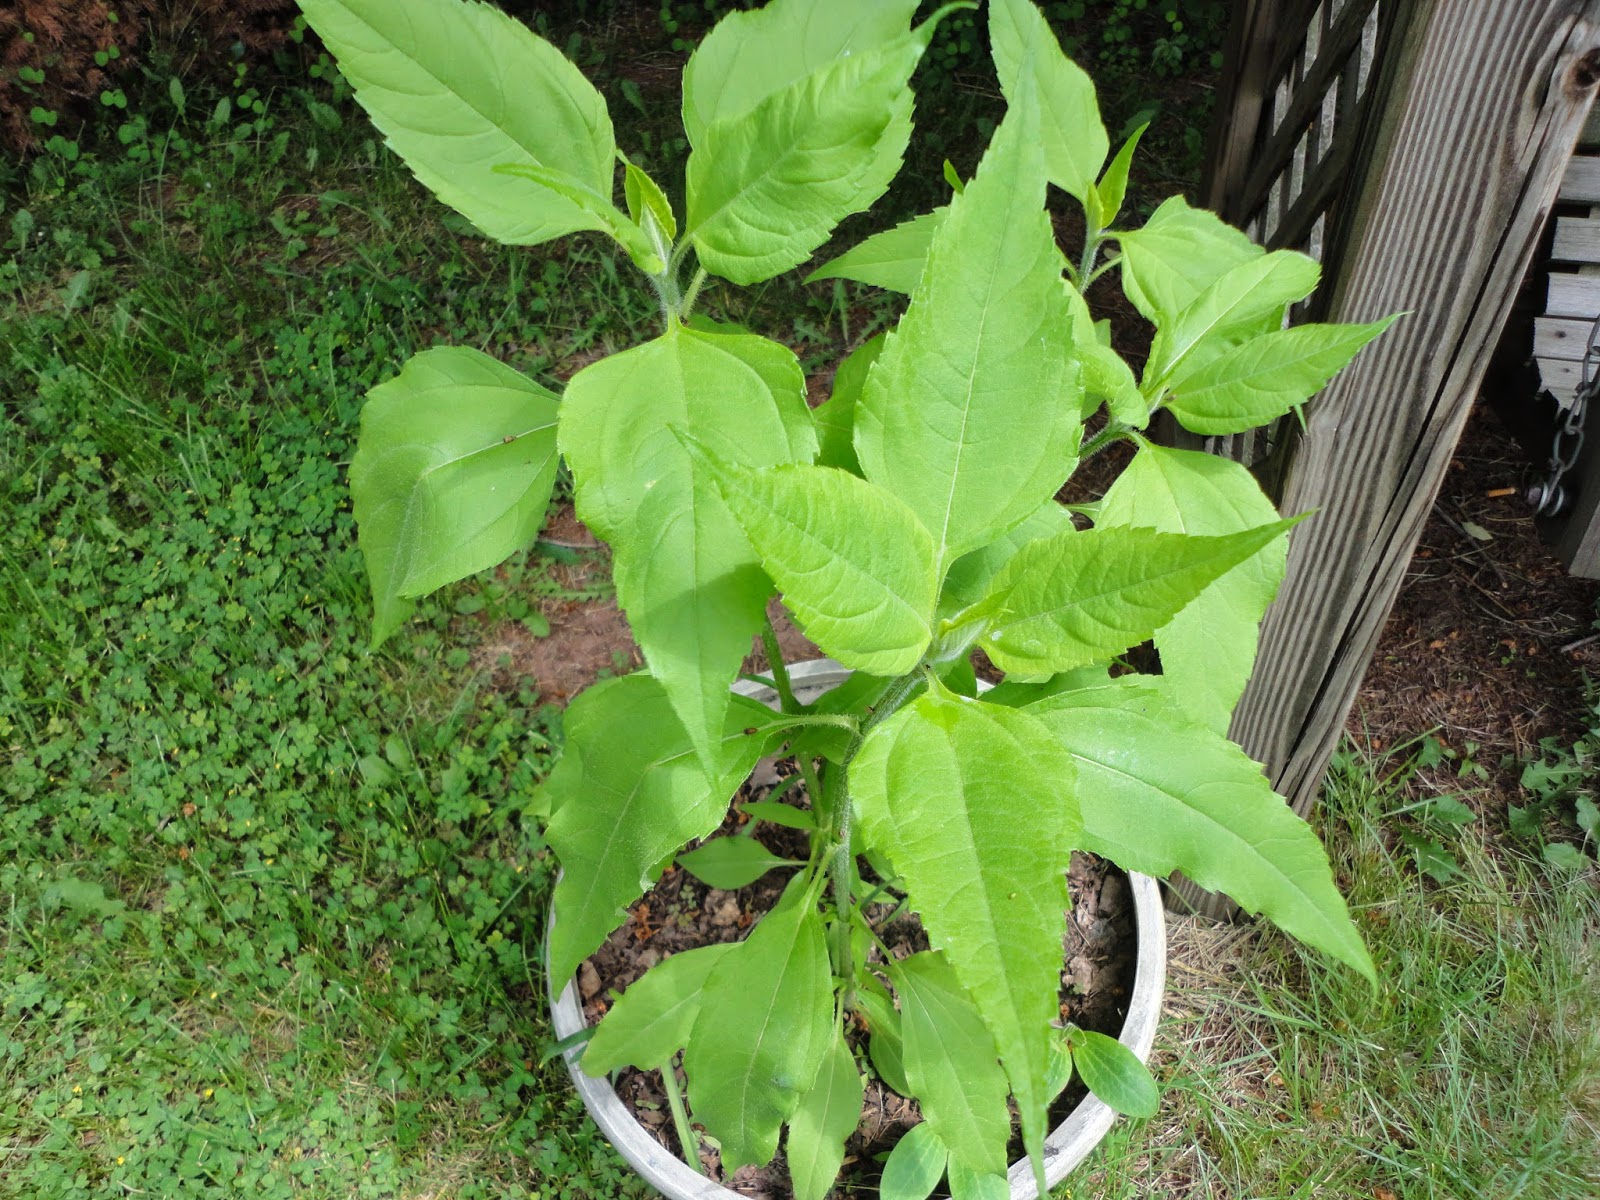
Such an unassuming pile of hay is all it takes. Since it's softer than dirt weeds come out easily, as do your crops. I was able to gently lift out the grown endives by their roots.

It's just so EASY: 
since you can do it with one hand! No wrestling with a tiller or pickax. Rain moistens the soil and the worms till it under a comfy cushion of hay. You grab a trowel and stick your transplants where you want, or simply pull back the top dry layer of hay and sprinkle on your seeds.

It's just to FAST:
since you certainly won't need to water, weed, or fertilize as often (if...ever?!)! Mulch is incredibly important in all gardens since it suppresses weed growth and  maintains moisture. If there's no system in place to suppress weeds and maintain moisture, YOU get to be the system! You'll be breaking your back weeding and trucking around a hose twice a day everyday in the peak heat of summer. Instead of caving to Home Depot's pressure to futilely spray herbicides (which is simply fucking bad for everything) or to install an expensive irrigation system, just do it the way nature does it. If you check down about two inches into the mulch around the base of your plants and it's moist, your root zone is good to go! If the mulch is thick enough you're blessed with a constantly active layer of decomposing organic matter which rebuilds and fertilizes your soil. So you can focus on things other than the most inane garden tasks.

And it's just to CHEAP: 
since I told you all these things you don't need to buy! No tiller, no repairs to the tiller, no gas, no herbicides, no drip hoses, less water. 

This is the first year I've employed faithfully no-till methods, so I'm hardly an authority, but I truly anticipate greater fertility and moisture retention as the beds area allowed to regenerate and be reused (and rotated!) year after year.

HOW IT'S DONE IN 1, 2, 3!

1. Thickly cover the area in which you wish to plant with hay, leaves, grass, paper bags, or another cheaply-acquired biodegradable substance that can fully cover weeds and grass while letting water and air through.
 
2. Let it sit and break down, for at least a month where you can spare it. Over time the bottommost layer of mulch will become dark, moldy, slimy, and full of little circular black worm turds. ALL GOOD THINGS. Once the grass underneath dies and you notice some worm and bug holes extending directly into the dirt, you are probably ready to plant. 


3. Dig into the supple dirt and plant those transplants, or sprinkle seeds right into this moist mulchy germination matrix!

I'm trying to build up some new areas from my own cornstalks and squash vines, hay, and Starbucks' spent pounds of coffee grounds, layered on top of each other as I get them. These spots are for potatoes, which I can already feel being so easily loosed from their beds rather than arduously dug from the soil.


The more time you can give the mulch or bed-building materials to decompose, the better. You'll be left with more of a more dirt-like substance to plant into. Now is the perfect time to get something started for next year! Though decomposition generally slows in the winter, you're still getting a head start on all that great microbial action.


Here's one we can try together. Corral fallen leaves, keep them in place with whatever you can find (some welded wire and metal sheeting, in my case, sticks work, too), and let them hang out. I plan to keep collecting leaves to fill out this space, while shifting the stabilizers from older and mildly decomposed spots onto spots with new leaves. 


Happy mulching!


Tuesday, August 19, 2014

Squash Butter and Maple Toffee Naan

Sometimes you get this grand plan for dinner, the type of dinner that warrants a lovely dessert to follow. But you get so caught up in making the dinner that dessert becomes irrelevant until you're done making the dinner and you're left thinking, "Shit. Now what?" We were lucky to come up with this one from extra bread dough and stuff in the freezer. I recommend many pumpkin pies in the fall, but save some purée for something like this.


Squash Butter and Maple Toffee Naan
The first step is to make the naan dough. I had great results with Food Network's recipe. As with any yeast bread, mix the dough an hour or a few ahead of time to allow it to rise. Skip the fennel and other seeds since you want a plain bread dough for this. And if you happen to not have yogurt, as I didn't, don't fret. I substituted around 5 T of heavy cream for the yogurt portion, but I get the feeling water or milk will work equally well.

Also, I used a whole packet of yeast and only let it rise once since I'm not keeping around a partially-used packet and I can never time bread right.

Squash Butter
~2 C puréed squash***
~3 T honey
1 broken cinnamon stick
0.5 tsp ground allspice
0.5 tsp ground black pepper
0.5 tsp nutmeg

Combine in a saucepan and allow to reduce over the lowest heat, stirring consistently, until the mixture thickens and you can smell the spices. Then turn the heat off. Nice and easy.

***If you've never prepared your own squash purée before, DO IT. It's truly flavorful, fresh and bright, MANY times better than the canned stuff. Pick a day when you don't have that much to do so it doesn't suck washing the food processor and cutting into these hulking fruits. Round up some Butternuts, Long Island Cheese Pumpkins, Blue Hubbards, or other roasting squash, cut (or saw, if necessary) them into chunks, and roast at 350 F until the flesh separates from the skin easily with a fork. Purée the flesh in the food processor until smooth, then fill into Ziploc bags and freeze until you're ready to use it!

And for cooking, never use those orange jack-o-lantern pumpkins which are Connecticut Field Pumpkins. The flesh is stringy and super bland, they're only for decoration.

Putting It Together
1. Put your oven up to 450 F.
2. Grease a cookie sheet
3. Grab a big handful of dough, stretch out into a long strip, and spread on a liberal amount of squash butter.  
4. Twist the buttered strip over itself, so it encases the filling. Don't stress over this, think 'rustic' and just go with it.
5. Repeat until you use up the dough and squash butter. Save the saucepan for the toffee!
6. Bake for about a half hour, until the bread is toasty and golden brown.

Maple Toffee
In the same saucepan you cooked the squash butter in, combine:
~3 T butter
~3 T sugar
~3 T maple syrup
and cook over low heat until it combines, bubbles, and looks all lovely.

And when the naan is done, drizzle the toffee on top and have a nice time eating it.


Friday, August 8, 2014

Tomato Pie

I love tomatoes.

I. Love. Tomatoes.

ILOVETOMATOES!

Since they can be such a pain in the ass to grow, this time of the year, where I can go out every morning and bring in pounds of these most-pleasing fruits, provides some of my most joyful moments.

Just cutting up and eating tomatoes is my favorite way to do it, but this comes in as a close second. Tomatoes meet pie in a luscious symphony. For me, baking works great in the summer; my window AC's are so ineffective at cooling my kitchen that I have no trouble saying, "Fuck it, let's crank it up!" But even if you've got central air, this pie'll make it well worth turning on the oven.


Pâte Brisée
First you gotta make the crust. You can buy one, but they're not as good, centswise they're many times more expensive, and it's not hard to make your own. Some sources claim it's hard, some say to freeze your flour and your butter and to put ice in the water, but there's no need. As long as the butter doesn't melt, you're golden.

1.25 C flour
1 stick of butter
1 tsp. salt
1 T chopped herbs if you have them
~.25 C cold water

Put the flour, salt, and herbs in a bowl. Cut the butter into cubes, and dump into the flour. Then I use my hands to massage the butter into the flour. You're looking for the texture of clumpy sand, an even mixture of buttery flour grains. Don't massage it enough for the butter to melt, just enough to get the mixture combined.


Work in a little cold water until the mixture comes together a bit. At this point you're looking for it to be, still, more crumbly than smooth. Then dump it in your pie plate and punch it out into place. And that's what I do, punch and press, so as to not waste wax paper and to not have a rolling pin to wash. When it's nice and crust shaped, pop it in the fridge until you're ready to bake.


The Filling
It's a few steps to get the tomatoes and other elements prepped, but well worth it. Don't sweat exact measurements. Here's what you'll need:


Enough tomatoes to fit your pie plate
1 medium onion
5 cloves garlic
olive oil, balsamic vinegar, salt, pepper
a few T chopped basil, if you have it
2-3 T cornstarch

1. Put on a pot of water to boil so you can blanch the tomatoes, and turn your oven up to 350 F.

2. While the water heats, dice your onion and garlic. Put some olive oil in a small pan, and once it's hot sauté the onions 'til translucent. Then add the garlic, 1-2 tsp. salt, and lots of fresh ground pepper. In a few minutes deglaze the pan with 2-or-so T of balsamic vinegar, and while that reduces chop your basil. Turn off the heat, stir in the basil, and transfer this mixture to a bowl (and hang onto that pan 'cause you'll be able to whip up a quick, delicious barbeque sauce in it).

3. By now your water may be boiling, so a few at a time boil your tomatoes for a minute and then immerse in a bowl of cold water. This will allow you to remove the skins, which you should do next. Cut out the spot where the stem meets the fruit of each tom, and then into a separate bowl squish out the seeded juicy sections of each tomato. If you don't remove the juice, your pie will likely be a lamentable, soupy mess. Reserve this juice to make that barbeque sauce I mentioned. And break the tomato flesh into large chunks and add to the onion mixture.

4. Sprinkle on 2-3 T of cornstarch. For a 9" pie plate, you won't want to use any additional lest the pie set too firmly.


 5. Mix it up until the cornstarch is evenly distributed, then evenly distribute the filling in your crust!


6. And bake for 35 minutes at 350 F. As the pie is getting done you'll begin to smell the butteriness of the crust, and the cornstarch will no longer be evidently white.

7. Pull out your pie and have a grand old time eating it.


Quick Tomato Barbeque Sauce

It's exciting to find new ways to use ingredients, particularly those parts which would otherwise go straight in the compost. So when I knew I wanted to make a tomato pie, and that I'd have to remove the watery parts, I wanted to come up with a way to use those watery parts. This reduction sauce made a lot of sense since I already had a pan out from making the pie filling. Just poured the juice back in, turned up the heat and I was ready to go!

Quick Tomato Barbeque Sauce

1-2 C Tomato juice
~1 T honey
~2 T apple cider vinegar
3-4 crushed hot peppers
salt

Very simply combine all ingredients in a pan and put the heat on high. Let it boil and reduce until the sauce is caramelly and thick. At that point taste it, adjust the flavor if you'd like, and if you end up adding more liquid let it reduce back down again. Once it's the texture of barbeque sauce, take it off the heat and store it in the fridge.

Here it is on a really good burger I made the other day.


 Tangy, sweet, and spicy, as good as any other barbeque sauce, and one more thing you can make yourself instead of buying it in a bottle!

Friday, July 4, 2014

Independence Days

Today is the 4th of July, and I dug up my garlic. 15 bulbs, which will last quite a time, even though I believe more garlic is more better.


There's a number of reasons why I garden and why I like gardening, but the reason that feels most pertinent today is independence. Supermarkets stress me out, a lot. Everyone's there, and in the way, and dumb, won't move, has kids, buys too much shit, and now my supermarket excursions focused on the toilet paper aisle; express trips in and out. I'm free of not knowing what's in my food, not knowing how it was grown, where it's really from, and being forced to pay as much as the food industry requires. I'm free to be joyful about and connected to my sustenance. To be close to Nature and working with Her to derive what I need to survive is real fucking exciting.


I am very lucky to have enough space to grow just about everything I need. But you don't even need yardspace to find this freedom. Just grow something you can use, in a pot in the window or out in the yard and you're getting out of the same old food systems that are commonplace today. And, visit a farmers' market or stop by a stand to pick something up. Whole lot less stressful than ShopRite on weekends.


Thursday, June 19, 2014

Corn, Beans, Shanks

I saved more than enough seed corn last year to plant all I need for this year. I was looking at the leftovers, wondering what to do with them since I'm out of space and it's getting late to start brand new corn. So why not cook 'em? Might work. This is what I came up with, adapted from this recipe.

I only had a cup and a half of corn, so I added an extra half cup of  beans that I didn't need to plant. And, cool! A lamb shank in the freezer (saved from the leg I roasted on Easter [next step is to find a lamb-generating freezer]). Since dried corn, beans, and shanks of any animal take a long time to cook, it makes sense to do it all together.

When I made it the corn was hearty and flavorful...but still kind of too tough, even at 6 hours. Shit. I should have soaked the corn for possibly a day and cooked it longer. I'm not mad though, since braised lamb shanks are always delicious and I know the beans came out perfectly. If you get some dried corn use that, but since it doesn't seem to be in any stores, for practicality I'll put up a revised version using beans. And though shanks are often served one to a person, for practicality, it's enough food for 2 people.

Salt and pepper extra liberally.

Browning. Nice and slow. 


Stir it up. 


Braised (Corn) Bean and Lamb Stew
2 cups dried beans
4 cups water (and more as needed)
1 lamb shank
Salt
Pepper
Olive oil
1 medium onion, diced
1/4 cup dried tomatoes, chopped
36 oz. of beer
4  dried chi chien chilis
2 Tbsp. fresh oregano

Put beans in a large pot with 4 C water. Bring to a boil, and let boil covered for 2.5 hours. Add more water as needed to just cover beans (took me 4 extra cups). Go do something for awhile.

Come back to kitchen. Salt and pepper the lamb shank more than you think you should, then brown in a lightly olive-oiled pan over medium heat. Meanwhile, cut the onion and dried tomatoes and fetch the beers.

Once browned all over, nestle the shank into the pot with the beans. Add the onion and tomatoes to the lamb pan and sauté 'til the onions become translucent. Dump the beers into the shank pot (they'll just about cover it but not all the way, and then don't add any additional liquid). Then add the onions, tomatoes, and broken up peppers to the shank pot, stir it up, cover it, and let it simmer vigorously. Brings us up to 3 hours. Go do something for an hour and a half (dishes now, make it easier later).

Return to the kitchen. Flip the shank in the pot, be sure to put the lid on, and go do something for another hour and a half.

Return to kitchen. Puts us at 6 hours total. Stir the oregano into the stew, and at this point you can pull out a luscious, succulent chunk of lamb, a few spoonfuls of tender, savory beans, eat it, and be a happy freaking camper.

If you use corn: Soak 2 cups of dried corn in water for a day. When making the stew, cook the corn on its own for an additional hour, bringing your total time to 7 hours. The shank will still be ready within the last 3 hours. 


Monday, June 16, 2014

Growing Strong

Plants are growing, growing, growing. Better to show you:


The patch where I keep finding a friend frog.
 Easiest planting ever (if it ends up working, that is). I set down some hay, allowed it to begin rotting then covered it with compost, sprinkled on the seed, and then a little hay to hold it in place. That's it! Trying this on Belgian endive, since at a point the roots need to be dug and it will be much easier to dislodge them from this than from the ground. My potatoes are planted similarly, and they, too, seem to be doing fine. 

 I'm planting close, a lot closer than many sources recommend. And I'm going with it, since it seems to be working just fine. Any volunteers that come up, I let them do their thing. Above, in a hugelkultur bed, I've planted kale, cabbages, broccoli, cucumbers, marigolds, chard, borage, plus volunteer sunflowers, mustard, and cilantro. I have, generally, four to six inches between plants, and in some other spots more and in other spots less.

 Butternuts, Long Island cheese pumpkins, and beans, alternating spots with an array of zinnias and sunflowers.
 And I'm trying out a Three Sisters planting with my squashes, corn, and beans. I planted my squash and melon seedlings directly into some compost and mulched heavily. They are flourishing, and everyone else seems to be healthfully on its way.
Rather than break my back, I'm incorporating techniques that reduce the amount of energy I need to put into the gardens. And so far, the most difficult part has proven to be installing and repairing fences.

And every day I can harvest chard, lettuce, mustard, kale, peas, and all kinds of herbs. Raspberries are ripening, tomatoes are setting, corn is rising, beans are flowering, and there's more to come.

So how much does this all cost me? $333.59 this year to date. About $80 was on seeds, and the rest on supplies. Less than I had guessed. And out of that I get a new 1,200 square foot plot I can use year in and out, plus more plants whose seeds I can save for subsequent years!

Definitely worth no longer frequenting ShopRite.

Saturday, May 31, 2014

What is permaculture?


Permaculture was a word that I pretended to understand since I was into organic gardening. I would nod along like "yeah, coool" whenever somebody started talking about it. But I was thinking "Permanent-culture? Like...shrubs? Trees? You can only grow trees?" When I looked it up I got more confused, 'cause there were multiple answers, interspersed with a good amount of hippies carrying on pseudo-pagan rituals and cultivating more confusion in me over these 'philosophies' they failed to actually describe.

It isn't the kind of gardening I was taught. My grandparents lived where I do now, and they grew all their own vegetables. Every spring my grandfather would tune up the roto-tiller, plow the plots, plant the plants, probably use some synthetic fertilizers and pesticides, then pick the vegetables until they died in winter and do the same again the following year. It's what I did as a kid. When I became interested in gardening again in the past few years, I followed this model. This year I've done much of the same. It all works and it's very straightforward, but as I'm reading more and more into other methods, it doesn't make the most sense.

That's because plants live in nature. People have worked to breed certain kinds of plants, but they'll always be part of nature. So why not let them grow like they do in nature?

You don't plant the weeds in your garden, but every year, every week, more grow. Their roots trail underground or they drop new seeds, which don't fall into plowed dirt, don't get covered with a quarter inch of fine soil, and aren't guaranteed consistent water, but they always make it back. That means the plants you want to grow can do it the same way.

Although at this point I'm playing a highly active role in cultivating my plants, I'm taking steps to assure that in the future I won't need to, and my plants can grow in a way like they might in nature. My number one rule is don't use any substance that I wouldn't touch or eat. Any food scraps I turn into compost, which I use to fertilize my plants. Insects need to eat, too, and if I were to use pesticides I could kill the critters I want around which kill the critters I don't want around; lately I've seen a lot of wasps, bees, and spiders, along with a lovely lack of caterpillars nibbling my plants.

With certain plants I take a few extra steps, like tomatoes: a Tums near the base of each plant to provide calcium and ward off blossom end rot, a sprinkling of Epsom salts once a season to provide magnesium, and an occasional misting of a little baking soda dissolved in water to help keep away fungus. They're still substances I have no problem touching or eating, and they've been working so far.

I put down a lot of mulch, which composts over time to fertilize and rebuild the soil, it reduces the erosion that a wide-open plowed field would experience, and conserves a huge amount of water. Ruth Stout says that by mulching, she never had to water, and I'm coming to believe that. I also do a lot of interplanting, and use companion plants. Interplanting, I can be sure, works, because I've seen insects and fungi have a much tougher time traveling from this plant over here, to that same kind of plant all the way over there, than to one right next to it. Distance and variety have been my friends. 

Organic farming is better than chemical farming, but nowadays it doesn't have the integrity I'd like to put in it. It's funny to see "organic hydroponic lettuce" and "organic farmed salmon" in the store, since I really can't imagine any natural situation where lettuce will sprout and grow to maturity while just suspended in water, nor where salmon corral themselves and spend the rest of their lives making babies 'til they die. 

So permaculture is organic farming that happens naturally. It's recognizing that your plants need to, and are able to, grow the way they grow. Naturally. I think that makes sense.

Friday, May 30, 2014

What's going on.


Good stuff's going on. Now that my new plot is ready, just about everything's planted. Corn, squash, greens, tomatoes, beans, herbs, flowers. And I'm paying much more attention to creating a permacultured environment.  More about that to come.